Scars are like uninvited guests on a person’s skin. And while they can be charming reminders of past adventures, they can also draw unwanted attention to a person.
You know, sometimes we want our skin to appear flawless. Not because we don’t appreciate how it looks naturally but because we just want something different.
And guess what? Makeup can be your secret weapon in this mission.
So, if you’ve been looking for ways to appear flawless even with scars, this article is for you. In this one I’m going to be sharing with you pro tips to conceal any kind of scar.
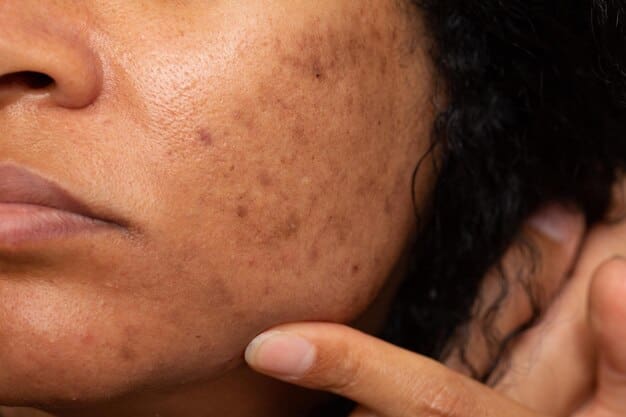
Before we get into the details of this writeup, let me mention that there are varying degrees of scars, which means that you may need a different approach in concealing each of them.
But that’s not a problem. That’s why I’m sharing this article with you, right?
So before delving into the different methods of concealing scars, let’s discuss the various degrees of scarring, and how you can identify them.
Identifying the Different Levels of Scars
Like I mentioned earlier, all scars are not the same – they come in a spectrum of appearances and textures. And it’s good that you know them.
Flat scars or outlines: I call them flat because they are barely noticeable and may sometimes blend with the skin. These types of scars are usually the aftermath of minor cuts or scrapes. So they’re not that serious.
Bumpy scars: These are usually called hypertrophic scars, and they are more visible. They stick up slightly above the skin, sometimes feeling firm or even itchy, and they are often the result of a more serious damage to the skin.
Keloids and Sunken scars: unlike the previous two, Sunken scars appear as dips or indentations in the skin, usually caused by chronic acne or skin illnesses such as chickenpox.
On the other hand, keloids are raised and thick, often extending beyond the original wound. And because of this, they are more prominent and noticeable.
So, now that you know that, let’s get to the highlight of this article.
How to Conceal scars with Makeup
Scars, as cool as they might be, aren’t always the first thing we want to highlight in our selfie game. But it doesn’t mean that we can’t keep them on low. You can decide how much attention they get with just a few products!
So grab your makeup brushes, and let’s do some magic
Now, before diving headfirst into your makeup bag, remember there’s no one-size-fits-all approach. And just like I mentioned earlier, scars come in different shapes, sizes, and colors, so we need a flexible plan.
Prepping is key
If you want to have flawless coverage for your makeup, then proper prepping is a must. To do this, start with a clean, moisturized canvas – this helps makeup glide on smoothly and prevents cakiness.
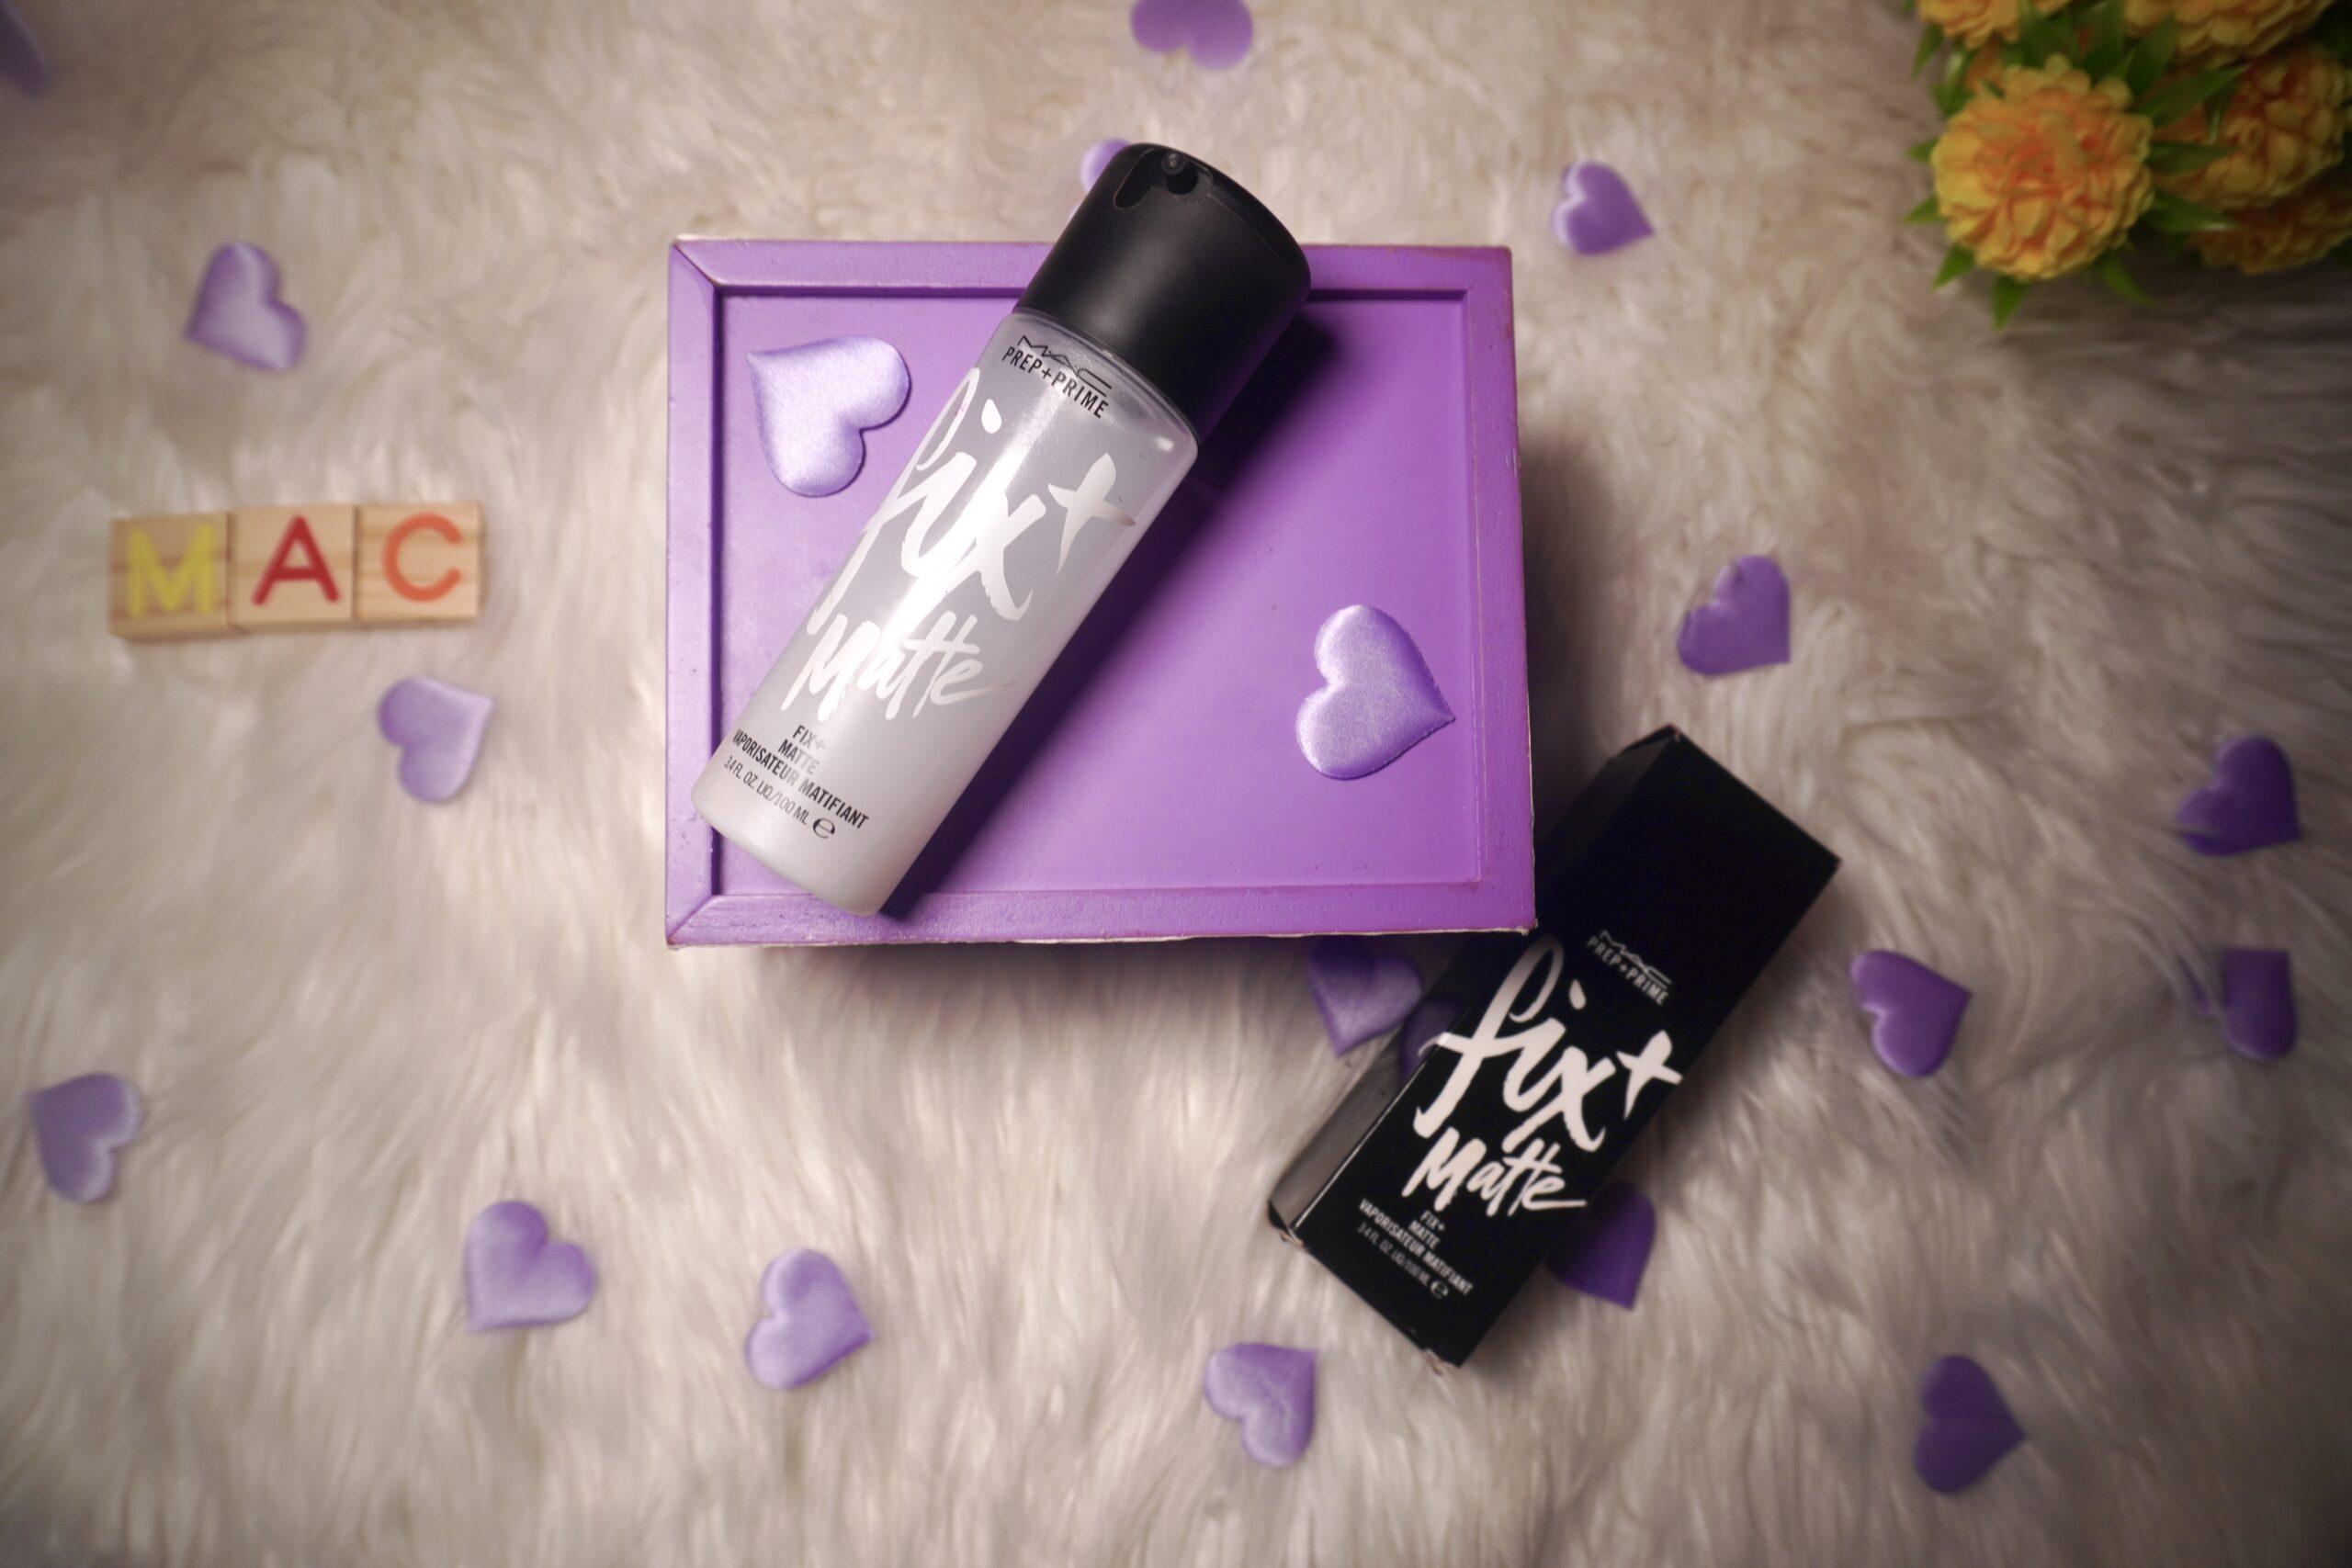
Also, consider using a hydrating primer, which creates a barrier between your skin and makeup, making everything last longer.
Use Color Correction
Scars often have their color, be it red, brown, or even purple. And that’s where color correctors come in. For reddish scars, blend it with a green correct. And for brownish ones, peach or orange correctors will do the trick.
Yellow correctors on the other hand work best for scars with a purple-ish tone.
To use this product, apply a thin layer of the corrector directly on the scar, blending it outwards to seamlessly merge with your skin tone.
Choose the right foundation
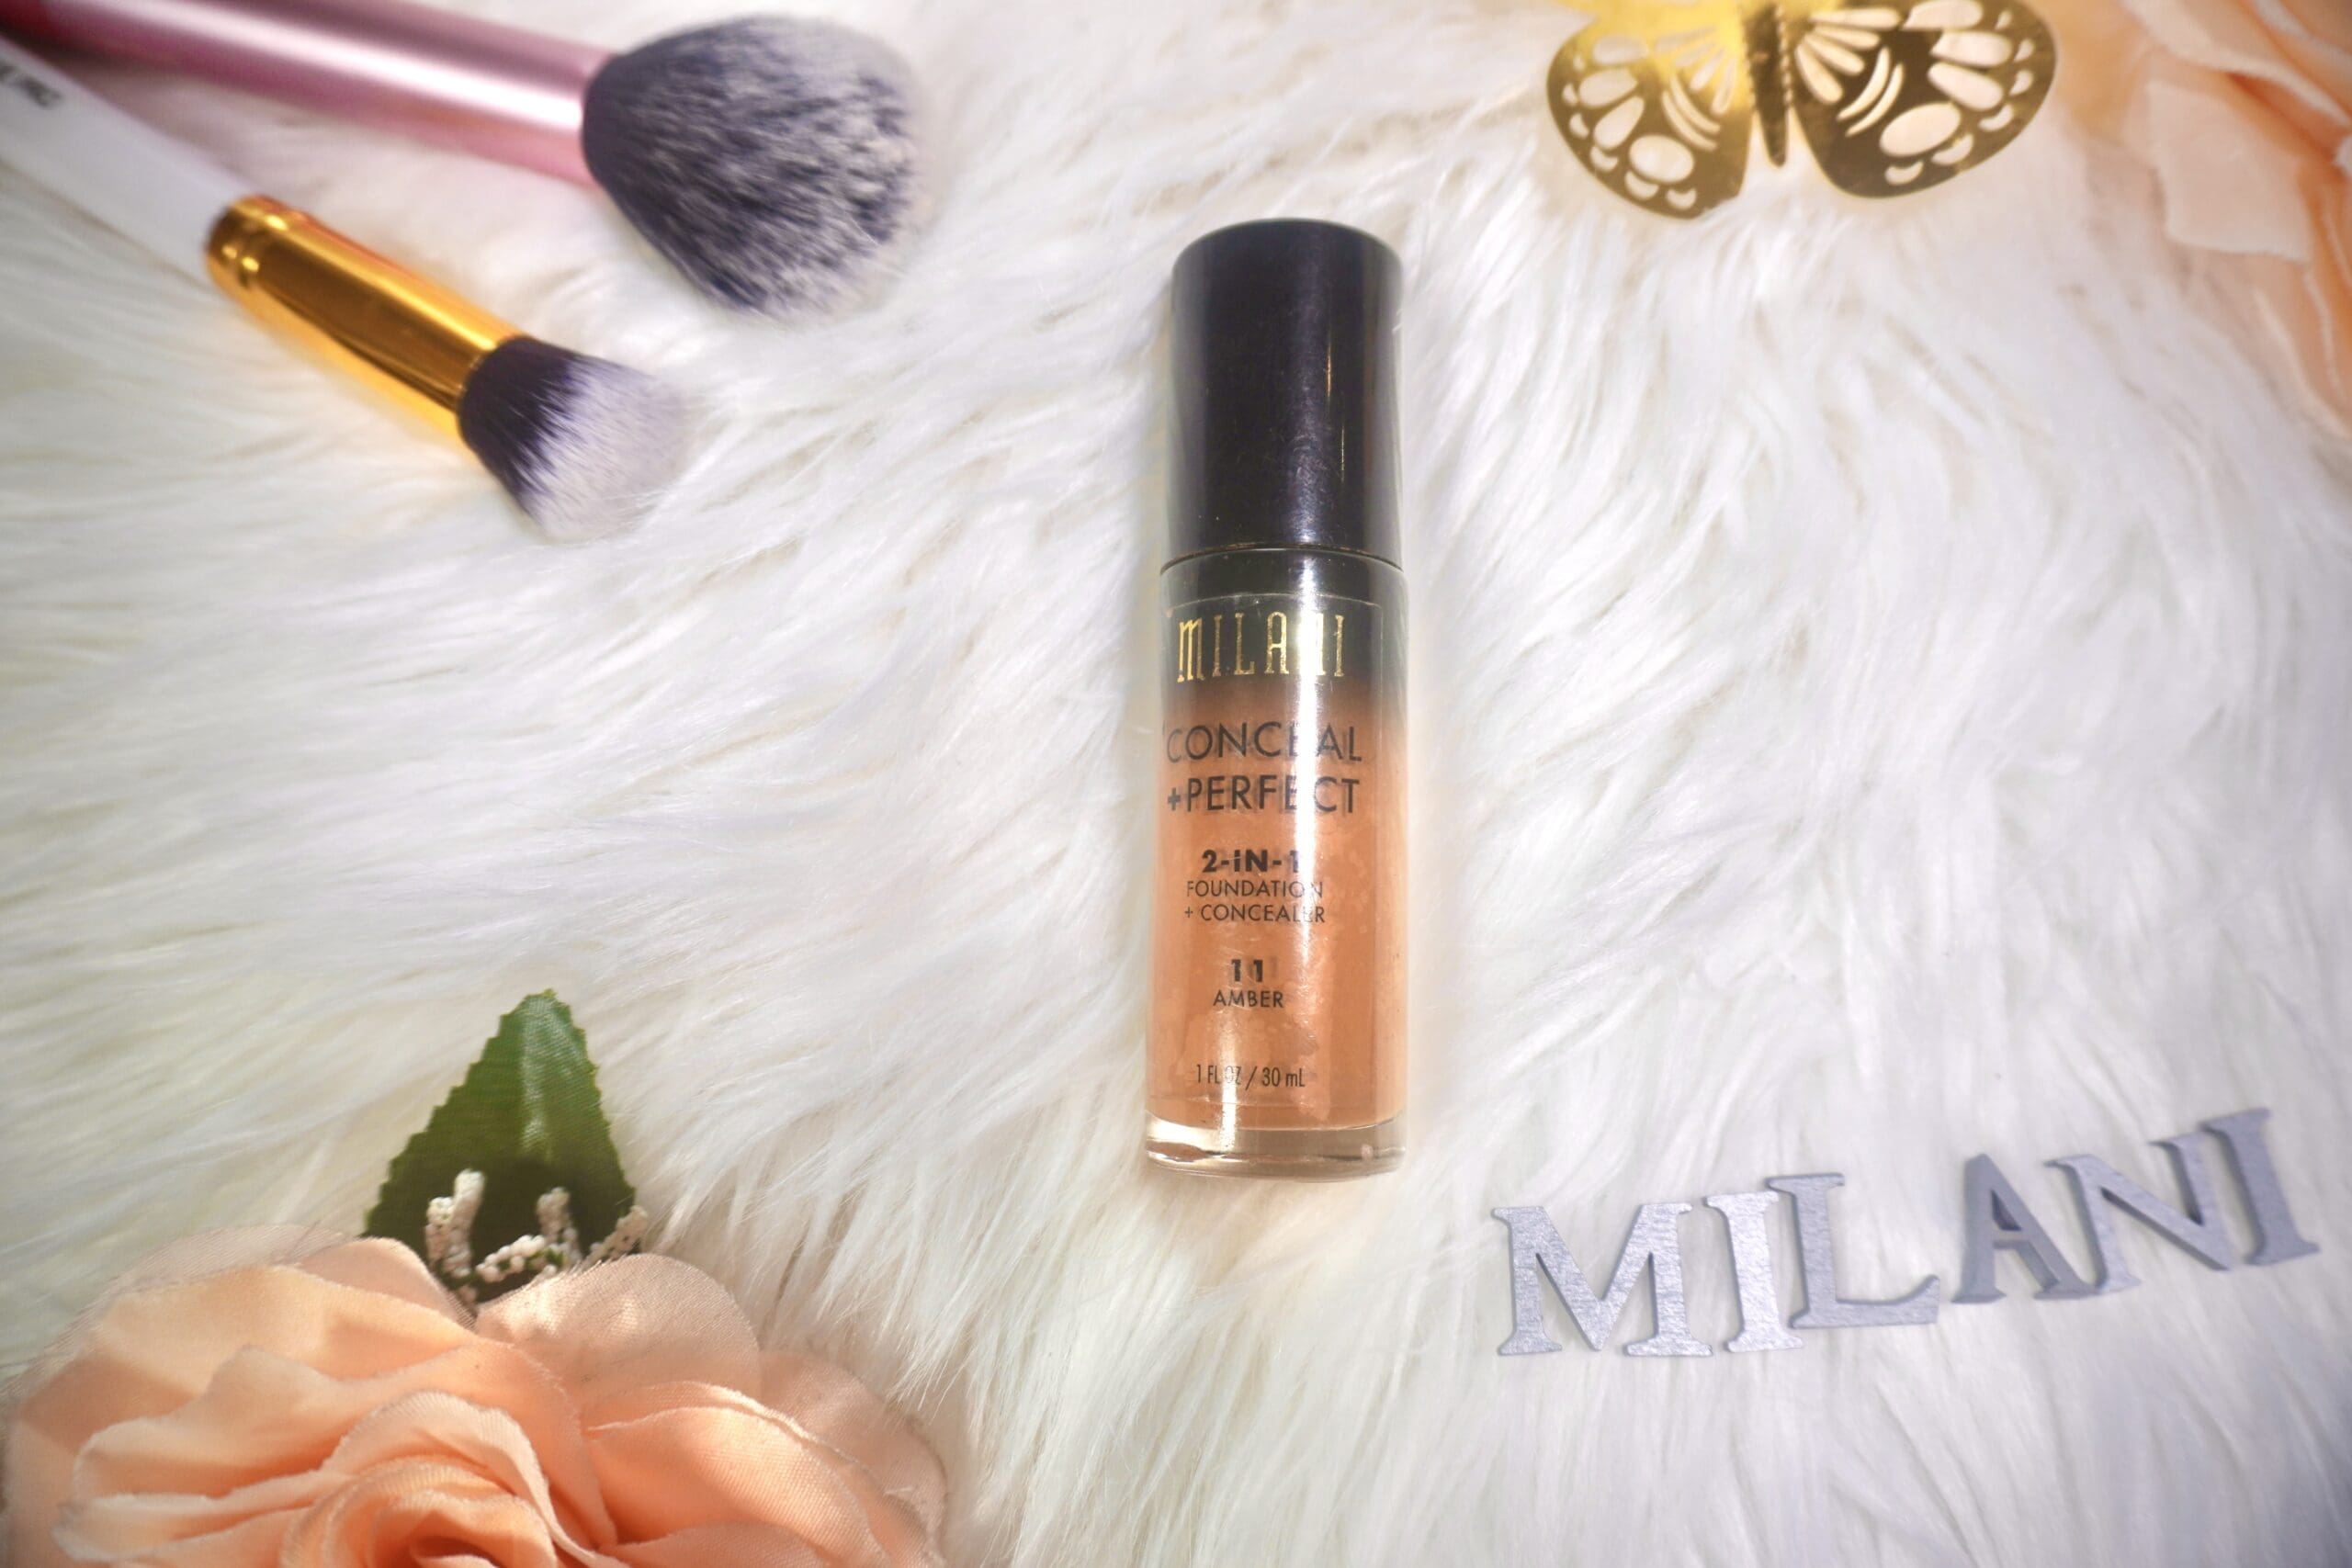
For this step, you need to create a unified canvas with your foundation. Choose a foundation that matches your skin tone as closely as possible, and apply a thin layer of it all over your face, paying extra attention to the scar area. After this, blend the foundation properly onto your skin.
Avoid applying too much foundation from the onset to make this process as flawless as possible. You can always add more if needed.
Concealer – the Ultimate
Now, this is where the real magic happens! To conceal the scar, apply a high-coverage concealer one shade lighter than your foundation. Apply it directly to the scar, focusing on the edges and any uneven texture.
Next, use a damp beauty blender or brush to blend in the concealer, mimicking the natural contours of your face.
Finish up
When all the previous steps are done, dust a translucent powder lightly over the concealed area to mattify it and prevent creasing. This is especially important for oily skin types.
Now, here are a few things you want to keep in mind
First and foremost, don’t overdo it! Layering too much product can make your scar look cakey and unnatural, and that’s not what we want to achieve.
Second, lighting is key. So always apply your makeup in natural light to see exactly how much coverage you need.
And third, what works for you may not work for another person. So ensure you try different techniques and products till you find what gives you what you want.
Some extra…
Based on the type of scar you’re trying to conceal, here are a few tips you need to keep in mind.
For the flat scar, a touch of concealer that matches your skin tone and blends seamlessly is all it takes for them to practically disappear. Think of it as a light veil over your skin.
On the other hand, for the bumpy buddies, the key is creating an even base. First, start with a primer that smooths out the texture, then apply a slightly thicker layer of concealer. After this, use a damp beauty blender to blend it flawlessly, mimicking the tone of the surrounding skin.
And for the Sunken scars, you only need a little light magic.
You may need to skip the concealer for this type of scar as it will only accentuate the dips. Instead, use a highlighter on the raised areas around the scar to create dimension and push light away from the shadows.
Likewise, keloids need a little more strategic approach, and in this approach, priming is crucial, followed by a color corrector to neutralize any redness.
Conclusion
Before you decide on the best method to conceal a scar, it’s important to determine its type. And this can be done by simply looking at the scar, or just touching it.
Also, if you’re concerned about a scar’s appearance or have any discomfort, consulting a dermatologist is always a good idea, as they can provide personalized advice and, if needed, recommend treatments to help manage the scar.
But hey, you don’t need to hide them if you don’t want to. If you choose to rock your scars bare, that’s totally awesome too. After all, they’re part of your story, and that’s absolutely beautiful.
This writeup is just to guide you if you ever decide to cover up those scars. So, just stick to what works for you. Okay?


Leave a Reply