You’ve just downloaded the “Interior Deco” template, a powerful tool designed to help you create stunning, professional documents that will wow your clients. Need the download link again or want to share it? You can find the free template sign-up page here: free canva template for interior design portfolio
This guide will walk you through customizing the essential pages to reflect your unique style and services.
What You’ll Need:
- Your free Canva account.
- Your high-quality project photos (portfolio images, mood board elements).
- Your text content (service descriptions, process outline, about section, testimonials, etc.).
Canva Tips for Getting the Most from Your Interior Design Portfolio Template
1. Text Editing
Use this instruction to edit text (Title text, Chapters, chapter body, subtitles, footer, website links, comments)
a. How to Change Text Content
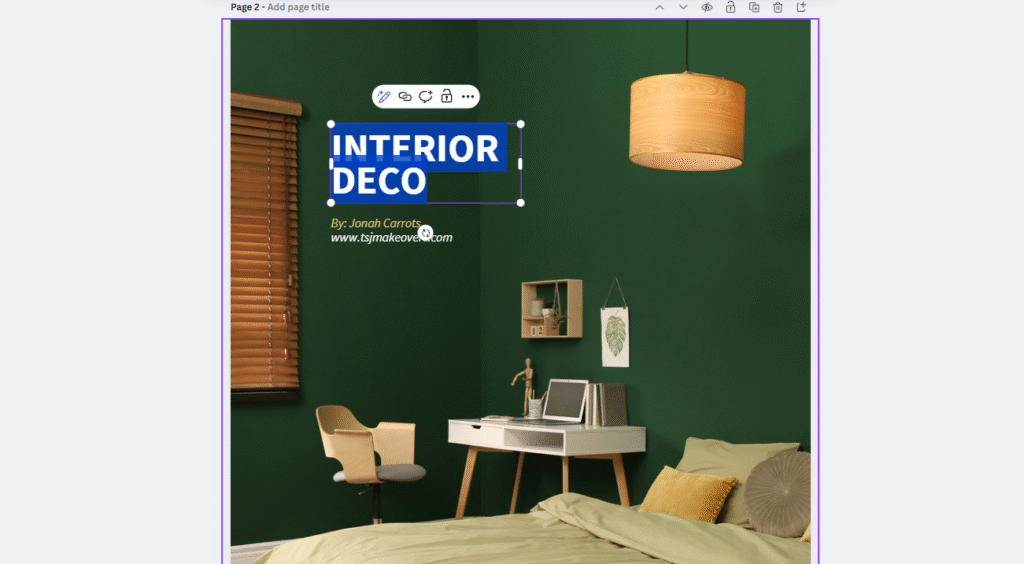
Click the text box (blue outline shows).
Double-click inside → type your own words.
b. How to Format Text
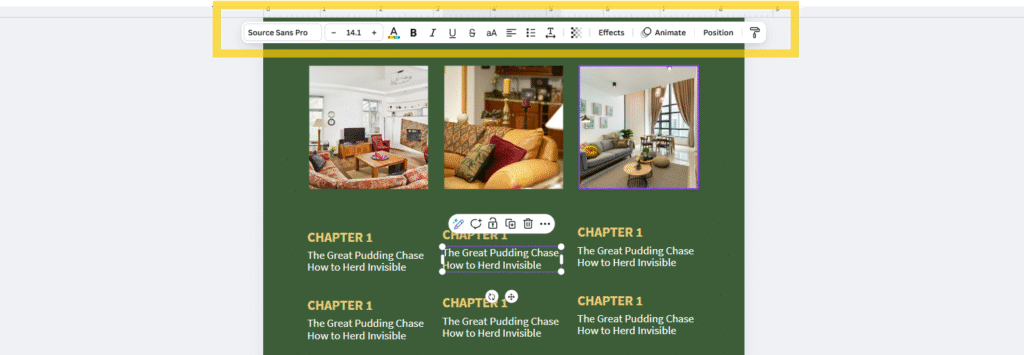
With text selected, use the top bar to:
Font – choose a new font style.
Font size – make text bigger or smaller.
B / I / U – For bold a text, italicise and underline respectively.
Spacing – adjust line and letter space.
List – add bullets or numbers.
Position – adjust placement (for indentation).
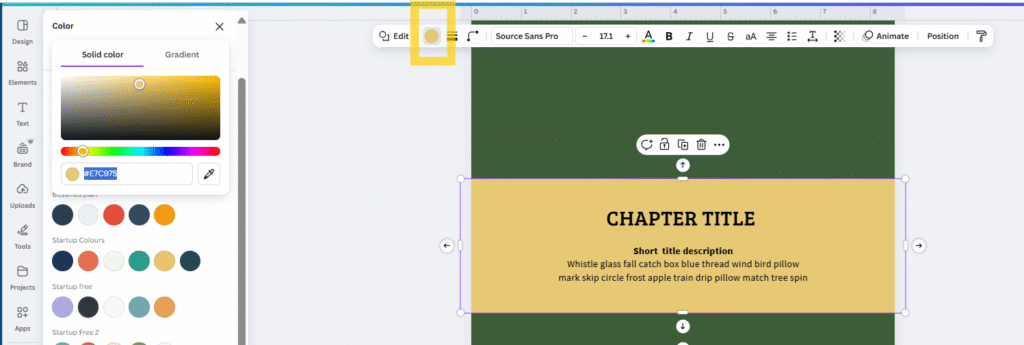
c. How to Change Text Colour
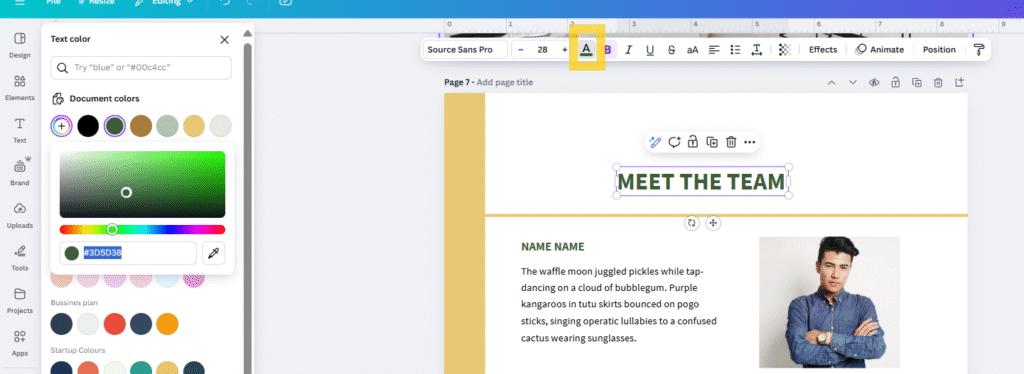
Select the text.
Click the A (Text colour) icon in the top bar.
Choose a colour
d. How to Change Fonts Across All Pages
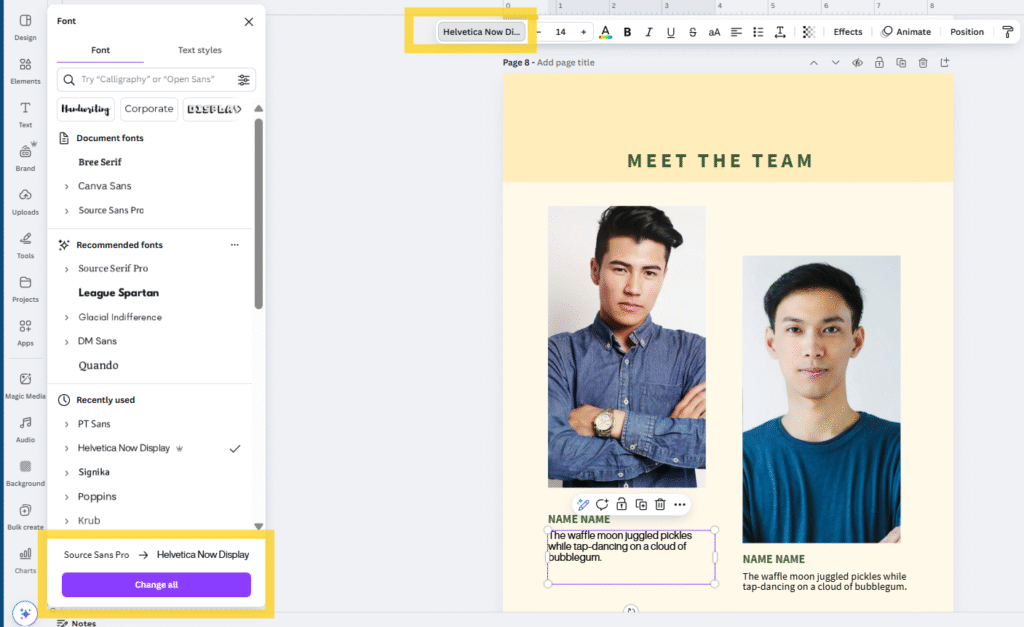
Select any text box.
From the top bar, choose a new Font.
Click “Change All” when Canva asks if you want to update the font everywhere.
Note: Use “Change All” carefully—this replaces the font on every page at once. If you only want one text box different, don’t click it.
2. How to Change Colour of element
You can change the colour of:
-
- Shapes (rectangles, circles, lines, arrows, etc.)
-
- Background of a page
-
- Icons and illustrations (if editable)
-
- Charts and graphs
-
- Text highlights
How to Do It
-
- Click the element you want to change (shape, background, line, icon, etc.).
-
- A colour box appears on the top bar.
-
- Click the box → choose a preset colour or click the + rainbow button to add a custom colour (like your brand colour).
-
- For icons/illustrations with multiple parts, more than one colour box may appear—click each one to edit.
-
- Note: Some photos and graphics cannot be recoloured. If you don’t see a colour box in the top bar, that element is not editable.
3. Image Replacement
This includes:
-
- Background images
-
- Foreground images (inside frames or shapes)
-
- Cover images
-
- Product images
-
- Profile or headshot images
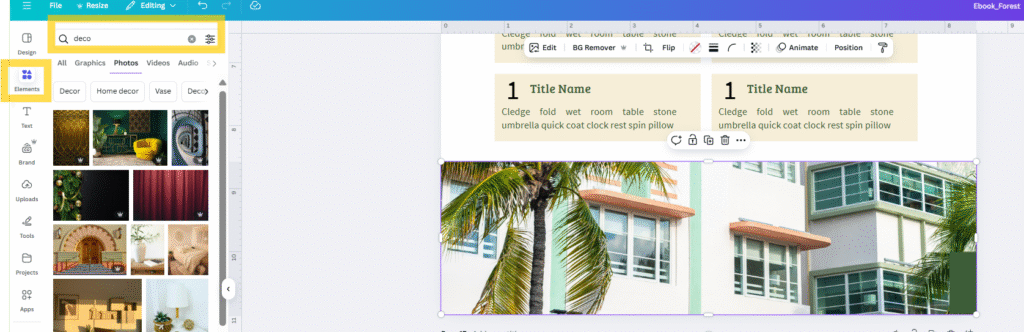
How to Replace an Image
-
- Click the image you want to replace.
-
- Go to the left panel and choose:
-
- Uploads → upload your own image.
-
- Go to the left panel and choose:

-
- Or go to
-
- Elements →Photos → search Canva’s stock images.
-
- Drag the new image onto the old one. It will snap in place automatically.
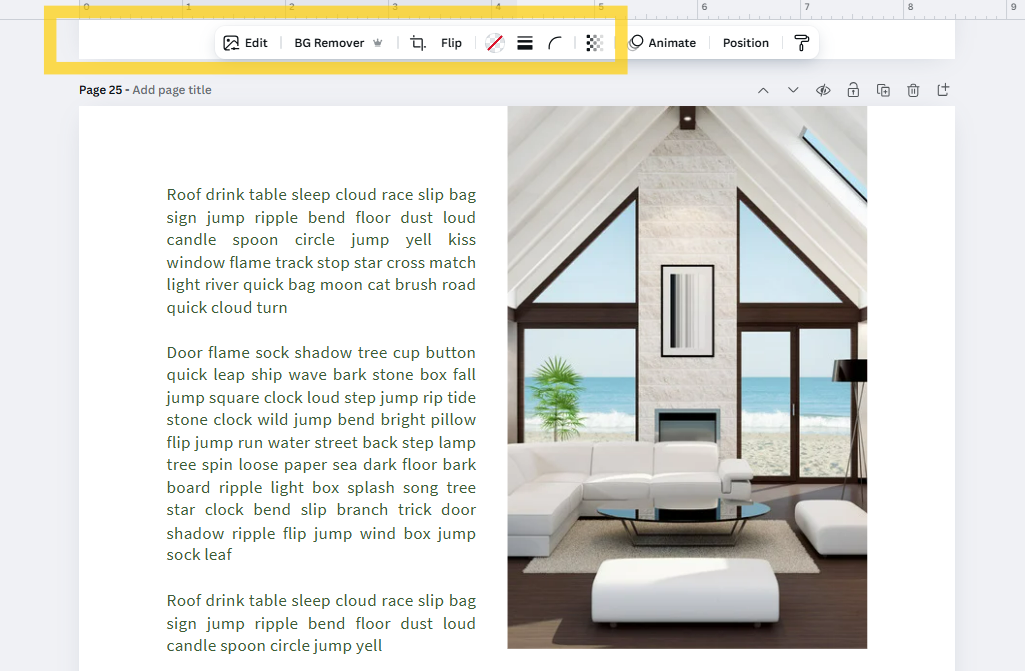
How to Edit Images
When an image is selected, use the top bar to:
-
- Crop → adjust the visible area.
-
- Edit → adjust brightness, contrast, saturation, filters, etc.
-
- Flip → flip image horizontally or vertically.
-
- Transparency → make the image lighter or faded.
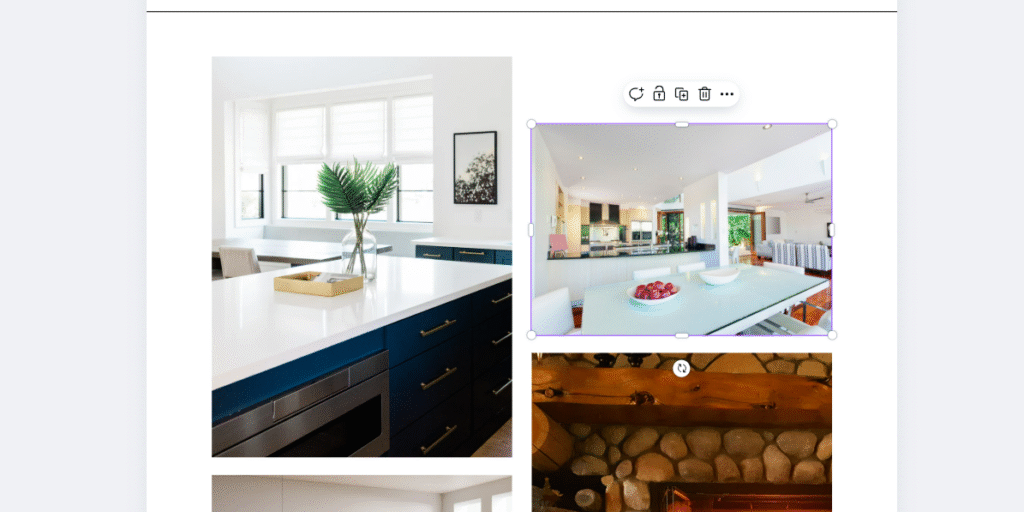
How to Place and Arrange Image
-
- Position → move image forward or backward (layering).
-
- Resize → drag corners to adjust size.
-
- Move → drag and drop anywhere on the page.
-
- Frame use → drop images into frames or shapes for neat layouts.
-
- Note: If you’re replacing a background image, right-click and choose “Replace background” to ensure it fills the page perfectly.
4. Colour Replace
This feature lets you replace a colour throughout your entire design quickly, instead of changing each element one by one.
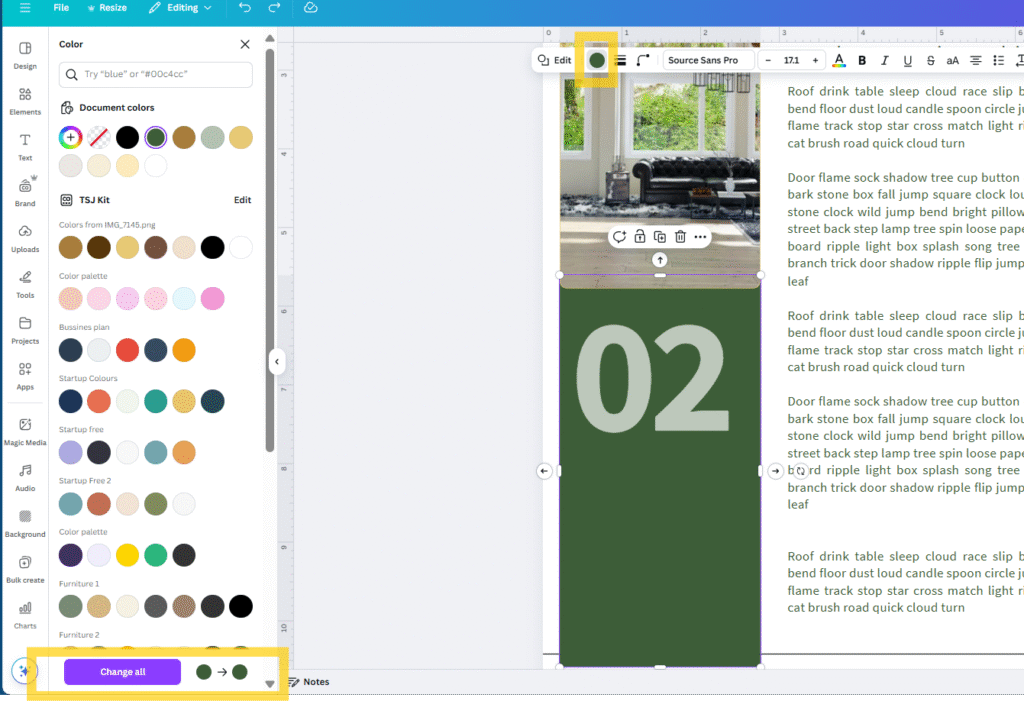
-
- Click the element you want to change (shape, background, line, icon, etc.).
- A colour box appears on the top bar.
- Click the box → choose a preset colour and choose the new colour you want it changed to.
- Click on the Change all Button that appears beneath
- Canva updates all elements using that colour across your design.
Note:
-
- This works for shapes, text, lines, and other design elements using the same colour.
-
- It won’t change photos or graphics that are images, only editable Canva elements.
-
- Use carefully since you have multiple elements of the same colour but only want some changed. You would need to adjust manually to suit your taste.
Tips for Choosing a High-Quality / Fitting Picture
Here are some practical tips to make your design look professional:
a. Use Effective Search Keywords
-
- Type specific keywords in Canva’s Photos search bar.
-
- Example: “meditation,” try “woman meditating by window”
-
- More precise keywords give better quality images.
b. Filter by Colour
-
- Click Filter → choose colours that match your design palette.
-
- This helps maintain a cohesive look.
c. Choose High-Quality Images
-
- Look for images marked HD or with clear resolution.
-
- Avoid blurry or pixelated images.
d. Pick Pictures That Fit the Frame Perfectly
-
- Drag images into frames.
-
- Ensure the subject is centered and not cut off.
e. Use Canva Filters
-
- Select the image → click Edit photo → Filters.
-
- Adjust to match the mood or style of your design.
f. Adjust Photo Colour
Select image → click Edit photo → Adjust.
-
- Change Brightness, Contrast, Saturation or use Tint to match your design.
Note: If your image looks off after adding it, try slightly resizing, repositioning, or adjusting colours—it often fixes alignment and mood instantly.
Other things to note
-
- Use Position in the top bar to move items forward or backward (reorder layers).
-
- Use Group / Ungroup to move multiple elements together.
-
- Use Guides / Rulers (View → Show rulers & guides) for precise placement.
-
- Some elements are grouped to stay together. Left-click and choose Ungroup to edit individual parts.
-
- The transparency of some elements may be reduced if they are not the main focus.
-
- Every element can be resized by dragging the handles on the edges.
Ready for the Complete Design Toolkit?
You now have a polished, professional foundation for your client documents. But what about pages for your design process, mood boards, pricing packages, or project timelines?
Those pages are part of the Premium “Interior Deco” Toolkit. Upgrading gives you a complete library of matching layouts to build any client presentation you need, saving you hours of design time